 Free shipping from 60€
 300.000+ Happy customers
 Instalment & invoice with Klarna
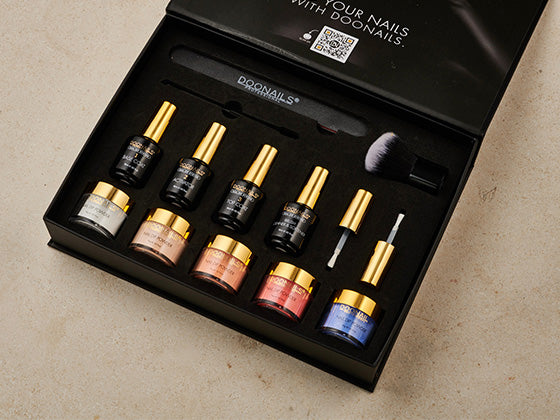


Accessories & Nailart
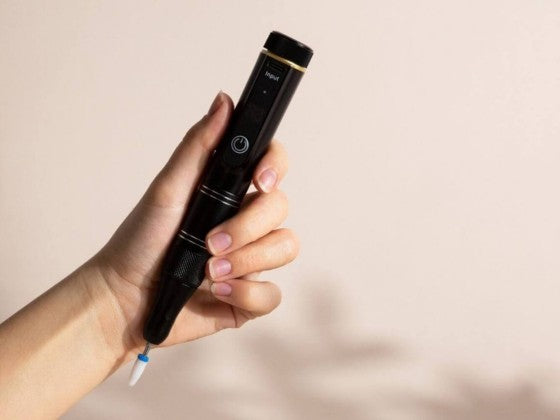
Nail drill
The battery is roughly comparable to a smartphone / iPhone. The battery life of the drill is up to 6 hours.
As you don't have to charge the drill every day, the battery is used less than with a smartphone, making the drill extremely durable.
Yes, our drill is already charged and ready to go. However, it may not be 100% charged when it arrives.
You can charge it directly using the charging cable supplied.
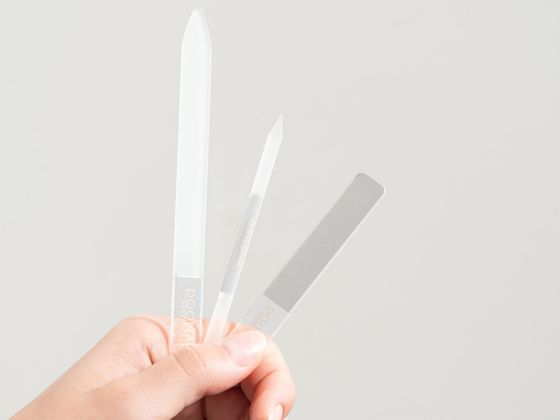
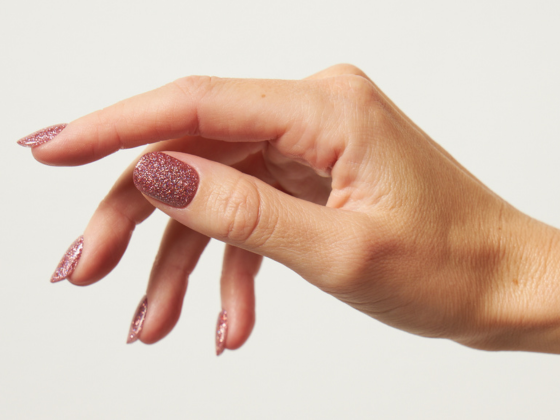
We recommend that you always shorten and trim your natural nails gently with a hand file, as you can easily injure yourself when shortening them with the drill.
The drill is super practical for use at home. You can use it to remove any type of manicure easily and conveniently.
Of course you can! In our bit set you will find 4 bits especially for working on and manicuring cuticles. You can use the bits to gently and easily work on the side walls and gently remove dead cuticles.
Take a look at our tutorial.
Our bit set is a must-have in your manicure routine!
For a better explanation, we have produced a detailed tutorial on how to use the nail cutter correctly and also explain how to insert and use the bits correctly in a separate video.
That depends on what exactly is no longer working:
- If only the grinding heads are broken, then they can easily be replaced. We offer a bit set for this in our shop.
- If it can no longer be charged, this may also be due to a faulty plug.
- If the nail drill makes unusual noises or seems unstable, we recommend that you stop using the device and replace it.
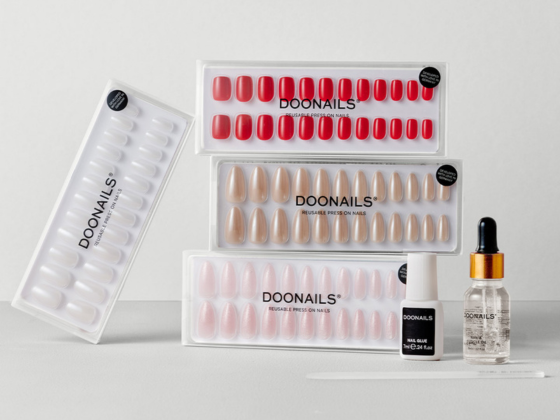
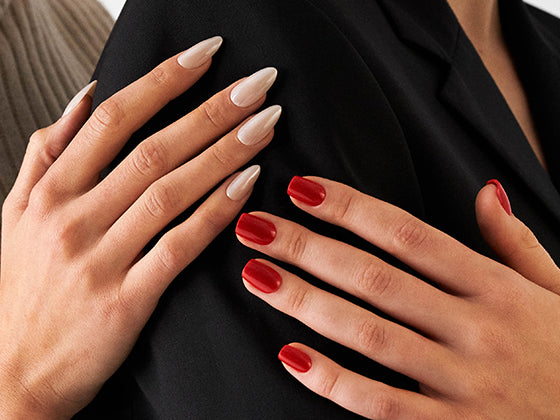
Fake Tips
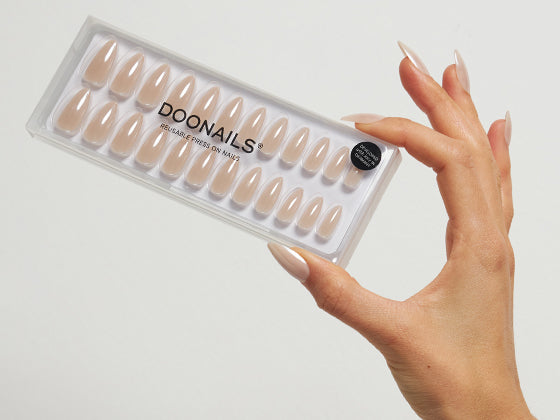
Full cover tips cover the entire natural nail and therefore offer additional hold, especially for thin and brittle nails. Half cover tips, on the other hand, are only applied to the tip of the nail and often look a little more natural. The only important thing here is to smooth out the transition from the fake tip to the natural nail by gently filing to avoid a visible edge.
If you have thin, brittle natural nails or nails that are prone to cracking, then we recommend our full cover tips as they offer your natural nails additional support. However, if your nails are naturally strong and robust, you can use half cover tips to lengthen your nails.
The same removal methods are available for removing the fake tips as for the dipping powder. Take a look at our tutorials. It is always important to buff the top coat really well and use plenty of remover.
A little tip:If they don't come off straight away, you can simply repeat the process and carefully try to get under the fake tips again and again with a rosewood stick or manicure stick to remove them.
Nailart
You can use anything your heart desires for your designs and create beautiful looks. You can either decorate your nails with nail art of your choice after the manicure or apply it before the top coat. Both top coat and nail glue are perfect for this.
Browse through our nail designs, where you will also find numerous nail art tutorials.
You can embellish your nails in no time at all with our Water Tattoos:
- Cut out your chosen motif as precisely as possible and place it with the underside on a damp paper towel until the motif peels away from the base.
- As soon as the motif is detached from the paper, you can continue with the dipping application as usual.
- After you have applied the second layer of Activator, it is time to place the motif on your nail. The Water Tattoo should be carefully dabbed dry with a paper towel.
- Now apply the second coat of Activator.
- To seal your design, apply the top coat twice. Allow each coat to dry for 2 minutes.
It's as simple as that:
- Carry out the normal dipping application.
- After the second layer of Activator, you can apply your favorite stickers. Make sure the Activator has had 2 minutes to dry and carefully apply the selected stickers with tweezers.
- Seal the nail twice with the top coat. Let each coat dry for 2 minutes.
Not that difficult, is it?
It's that simple:
- Carry out the normal dipping application.
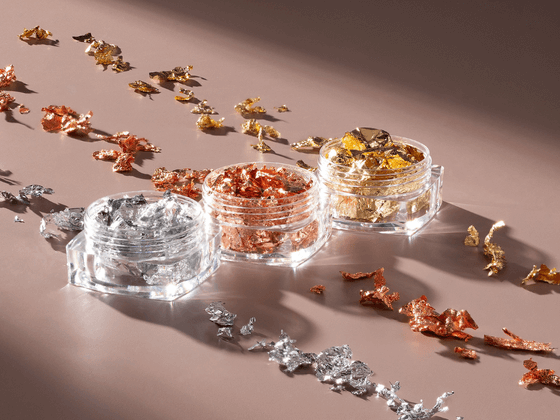
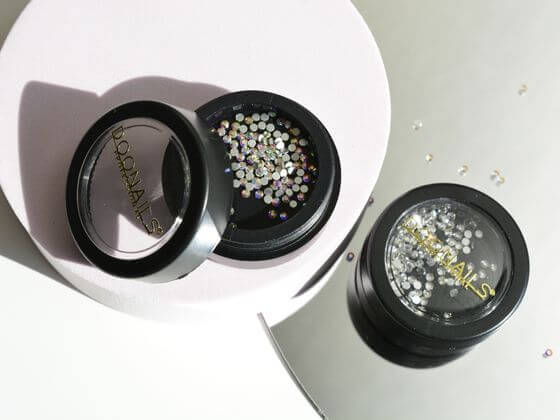
- After the first coat of top coat, you can apply your stone embellishments / metallic foils. The top coat is ideal as an adhesive here, so start with the nail art straight after applying the polish.
- Seal the nail with the second coat of top coat.
And just like that, your look has that certain something!
Others
The e-book will be sent to you directly by e-mail after your order. In exceptional cases, it may take up to 24 hours for the e-mail to reach you.
Occasionally emails also end up in the spam folder. So please check this regularly.
If you still haven't received anything after 24 hours and you can't find anything in your spam folder, please contact our Customer Care Team. In that case, we will send you the link directly.
We have enhanced our remover formula and incorporated a conditioning oil to make the removal process more gentle. The new remover was tested in collaboration with our customers. Our clear favorite was almond oil as an additive.The new remover liquid has a pleasant jasmine blossom fragrance, which is a special treat for the nose.The new formulation has also proven to be even better at removing dipping powder than the previous remover.
Not found what you are looking for?
How else can we help you?

Shipping & delivery

Return & Exchange

Payment

My order

Dipping Powder

Soft Gel Press Ons

Accessoires & Nailart

Customer account

Still open questions?
Your question was not included and you still need our help? Our Customer Happiness Team will be happy to answer all your questions personally!


